Creating a "Bloom Effect"
by Ofer Zelichover
| This Tutorial describes how to create a "bloom" effect. |  The left side (after the bloom effect) has a hazy look to it. |
| OK, let's start. Load you original image and copy the "Background" Layer. |  In Photoshop, to copy a layer you can drag it on the "New Layer" icon (as shown above). |
| Blur the copy you created. |  In this example the image's size is 640x480 so a Gaussian blur value of 7.5 is enough. For larger images you might need a larger value. |
| Brighten the blurred image, and reduce the contrast. I usually use levels rather than brightness/contrast because I think it gives you more control. | 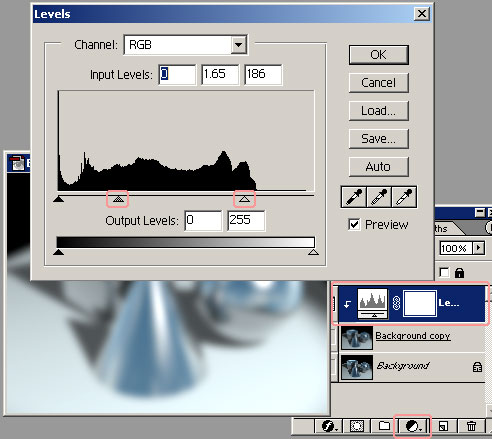 In Photoshop 5.5 and up you can create an adjustment layer (the half black half white circle icon). The advantage of using an adjustment layer is that you can alway modify it's values (by double clicking the layer's icon). |
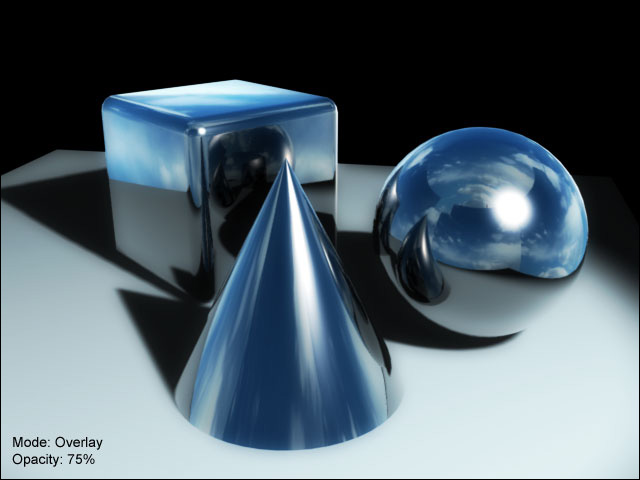
| The key to the bloom effect lays in the blending mode of the layer. | 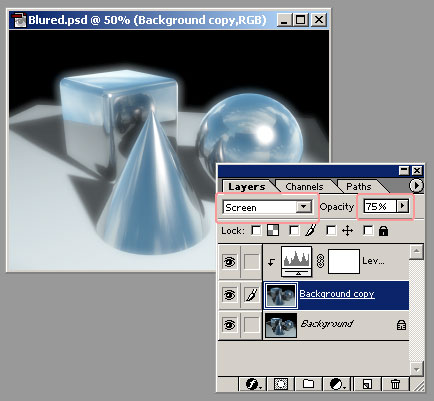 Change the blending mode and opacity of the blurred layer. |
That's it. As I mentioned before, you can use the same technique in After Effects to create the effect for a clip or animation.
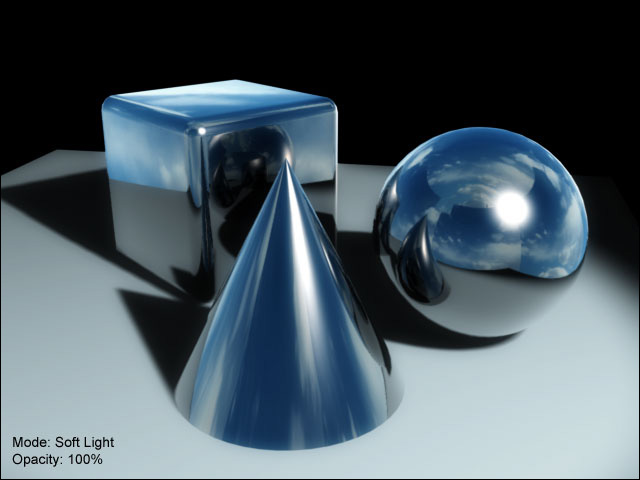
You can see below some examples of results with different blending modes and opacities.
I hope you found this tutorial useful, feel free to send me any comments to: ofer_z@hotmail.com.